I started to draft this post before I looked too closely at the current services available for hosting static sites. It started something like: "There are no shortage of options to get a static site online...".
And while that's true, when I dug a little deeper, I found the number of hosting solutions that match my criteria is really small!
In 2022 I don't think it's unreasonable for one to expect:
- Deployment by dragging and dropping folder or zip of a bunch of files to an upload form
- Free or pretty close to free service
- Custom domain name and HTTPS available either for free or a small fee
The good news is there are services that meet those requirements.
But first...
Why a static site?
There are some huge advantages to static sites, here's a few:
- Cheap: without the need for dedicated servers you generally only need to pay for storage (which under certain thresholds is often free)
- Simple: Static sites are a bunch of files. Essentially they boil down to one rule: the folder dictates the URL path.
- Fast: Without the need for a server to generate content we can distribute the site around the globe getting it closer to visitors making the site load faster.
- Secure: because the site is just a bunch of files it's harder for a would-be-attacker to manipulate or destroy your content.
Hosting a static site
To build a static site using Tap follow these instructions. Otherwise, this post assumes you have a static site ready for deployment.
This guide will focus on two services: CloudFlare and Netlify. Here's what they have in common:
- They are free
- They are easy: drag and drop the files, press a button
- They come out of the box with the stuff that any good static site should have: option for custom domain name, HTTPS and global distribution via CDN.
Netlify and Cloudflare are both good options. For the purposes of static website hosting, there's not much difference. Netlify has a more user-friendly vibe and CloudFlare is more enterprise-y.
Here's a Tap formula to help you choose:
$$("Host my site with")
(list-item
  (list "Netlify" "CloudFlare")
  (random 0 1))
Run the above in Tap to choose. Or flip a coin, same thing.
On to the instructions.
Netlify
Create an account with Netlify. After verifying your email and logging in you will see a "Sites" section on the "team overview" page.
On this page you'll see a section for sites.
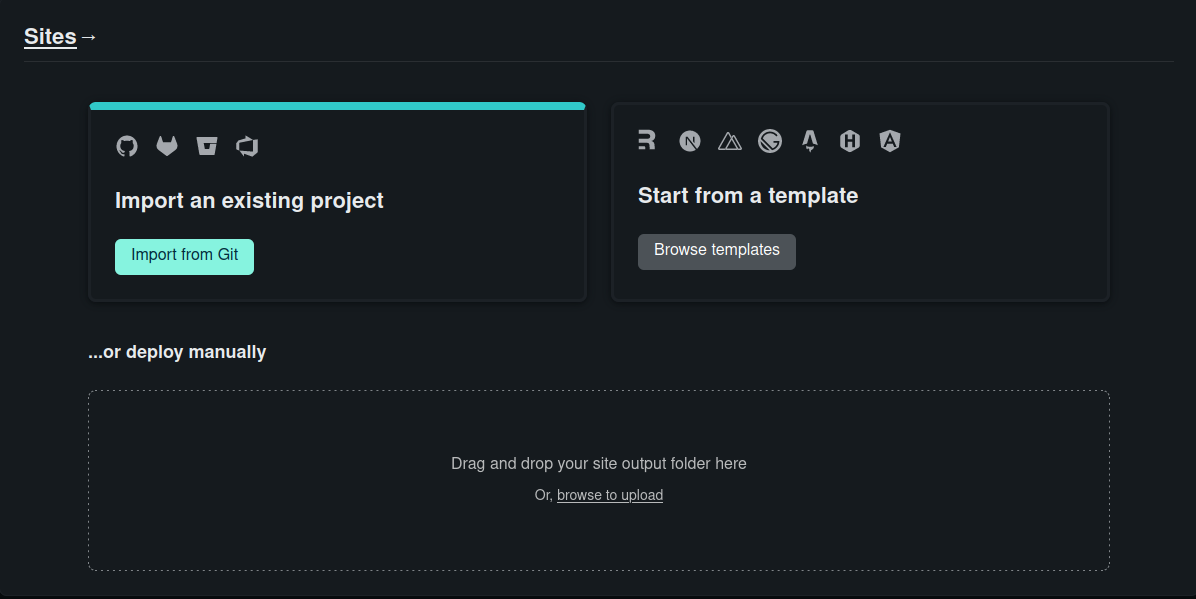
We are going to focus on the manual deployment option. Simply drag your static site folder or zip to the drop zone on the page.
Manual deployment is what allows you to upload by dragging a folder or zip of files. The output from the Tap static site exporter can be uploaded directly without even unzipping.
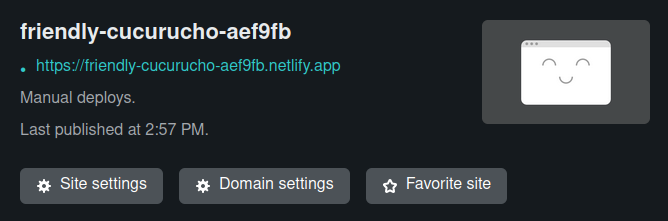
Once you upload your files you'll be taken to a page with information about your new site.
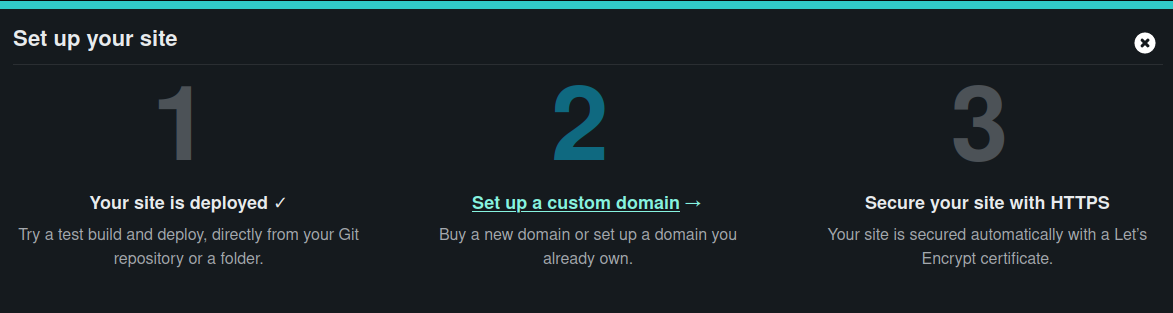
Next we'll set up the custom domain, follow the link under the enormous "2"
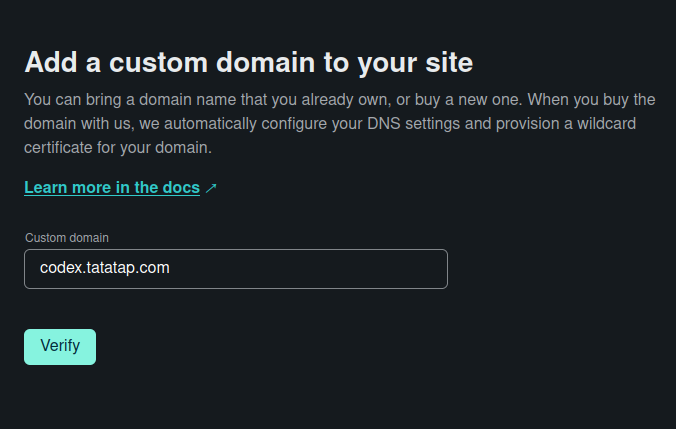
Add the name of the domain you'd like to use for your site.
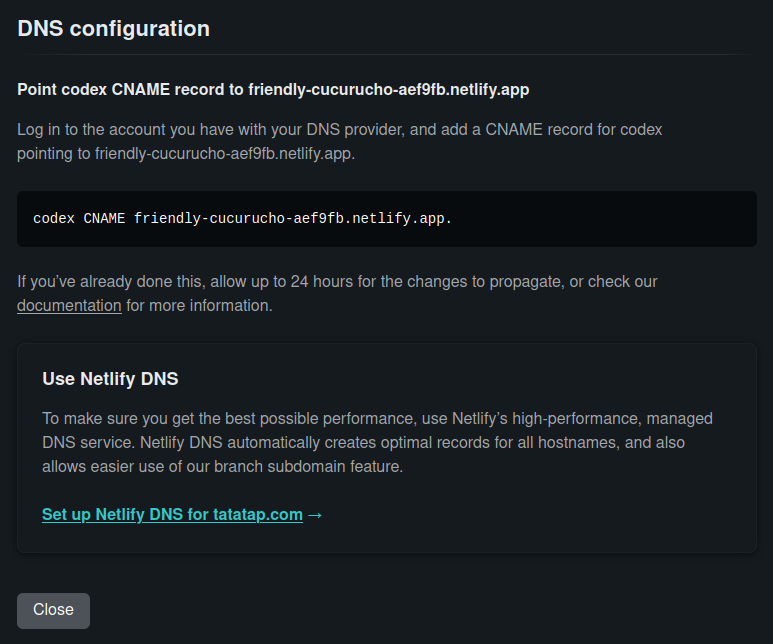
At this point you need to configure your DNS settings (usually with your domain registrar) to "point to" the static site. Details for your specific record will be reflected in a popup like the one below.
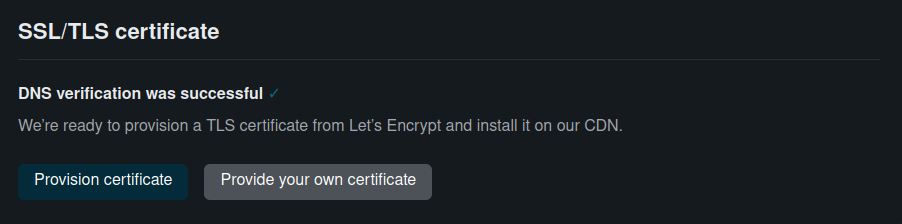
Once your DNS is set up correctly you can move on to SSL/TLS. This next step is about enhancing the security of your site. You will see the feature reflected in the lock icon that will appear next to the address bar when visiting the site. A full description of HTTPS is beyond the scope of this post, the bottom line is it's worth doing. It costs nothing and takes very little time to set up.
After you verify the DNS, press "Provision certificate"
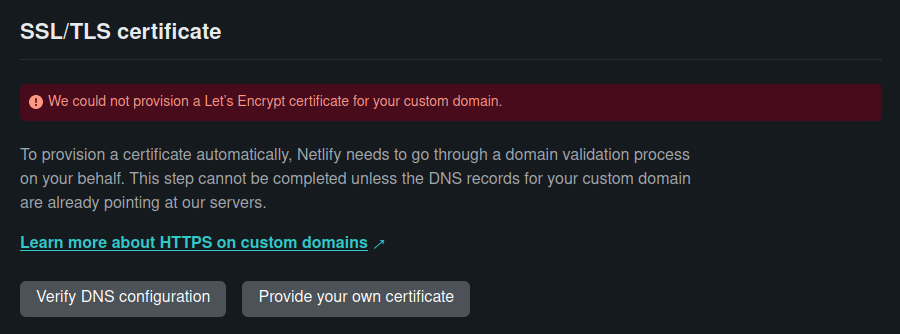
For some reason, if you push that button too soon, an error shows up. Give it a couple minutes or try refreshing.
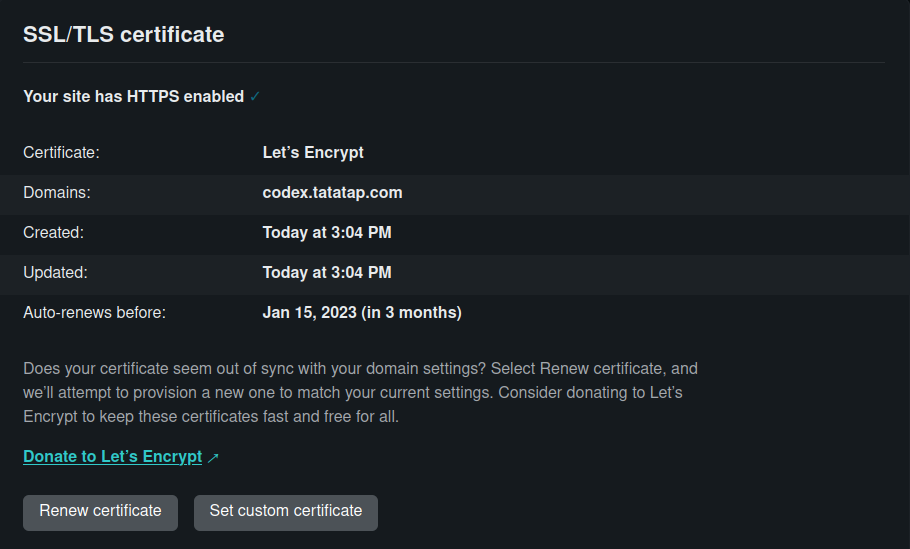
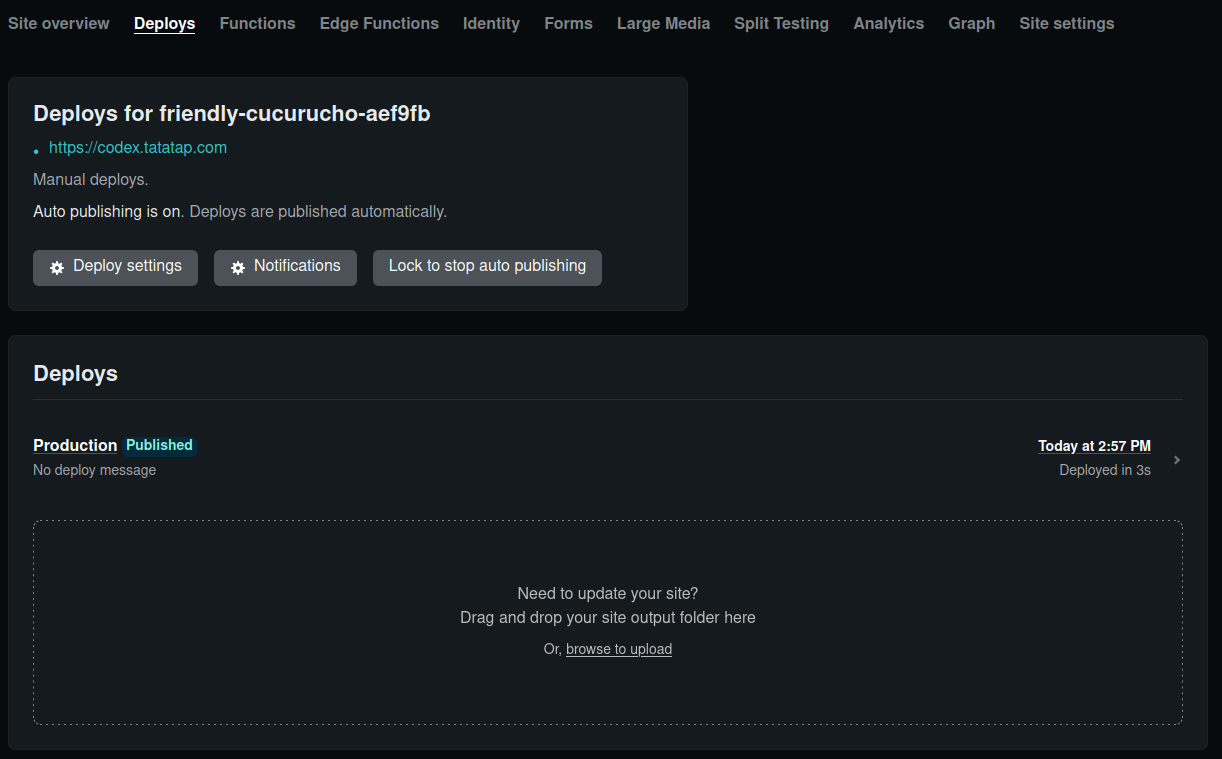
Once the certificate has been issued (the result of pushing the "Provision certificate" button) you're basically done. At this point your site is online, it is attached to your custom domain and it has HTTPS.
If you need to redeploy, simply drag and drop an updated folder/zip to the drop zone on the "Deploys" tab.
CloudFlare
The CloudFlare instructions are very similar to Netlify. Of course you'll need a CloudFlare account.
The main page on login doesn't show the options for uploading the static site. You need to navigate in the left-hand panel to the "Pages" tab.
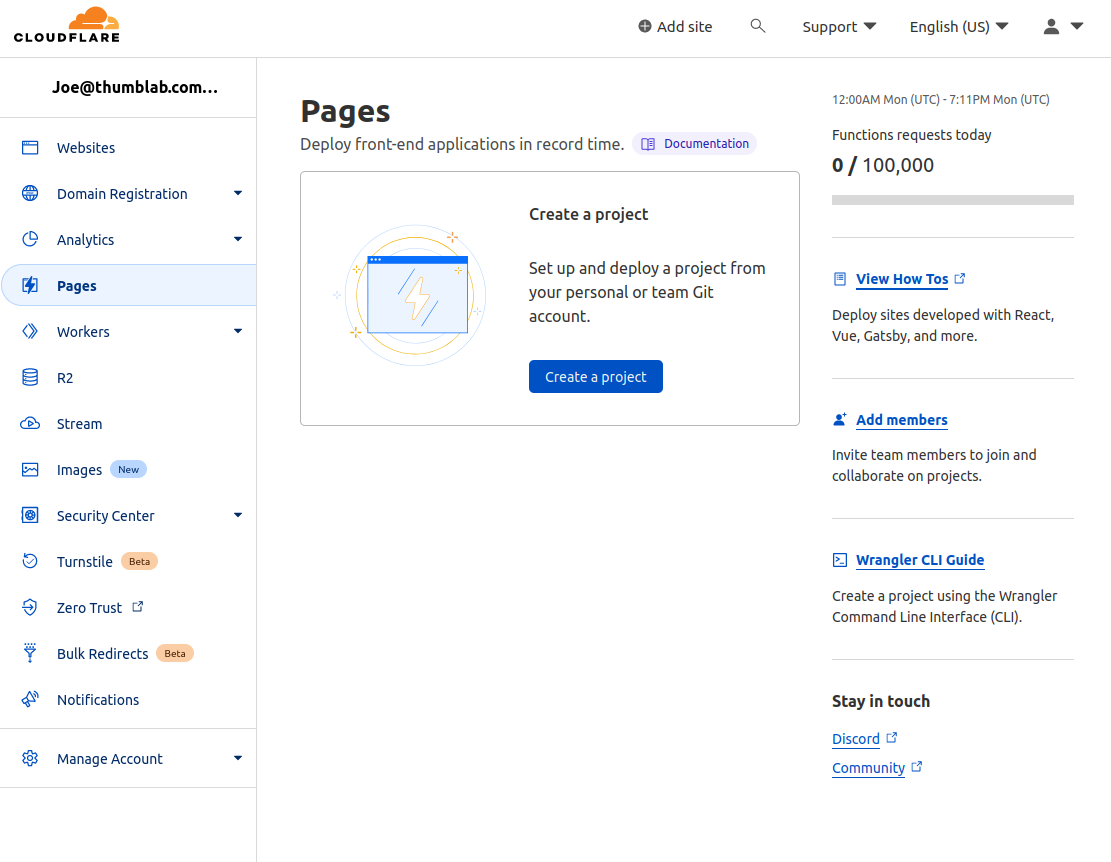
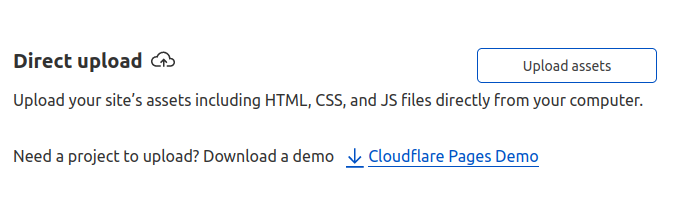
Next press the "Create a project" button. On the next page press the "Upload assets" button.
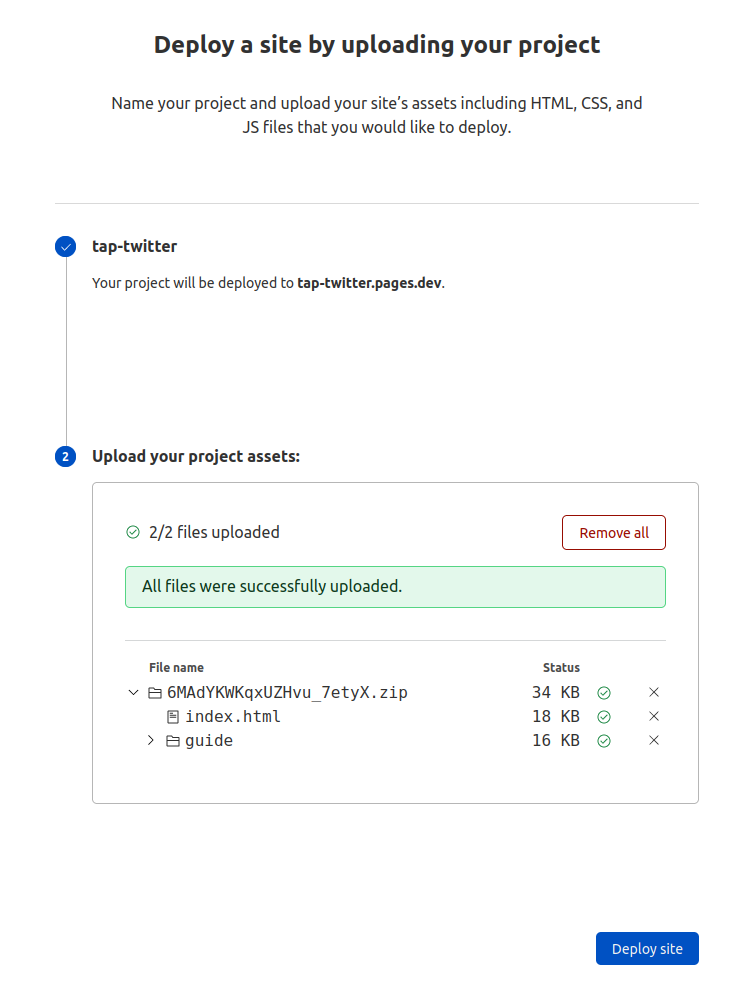
After that you should see a readout of the files uploaded. If it looks good, press "Deploy site."
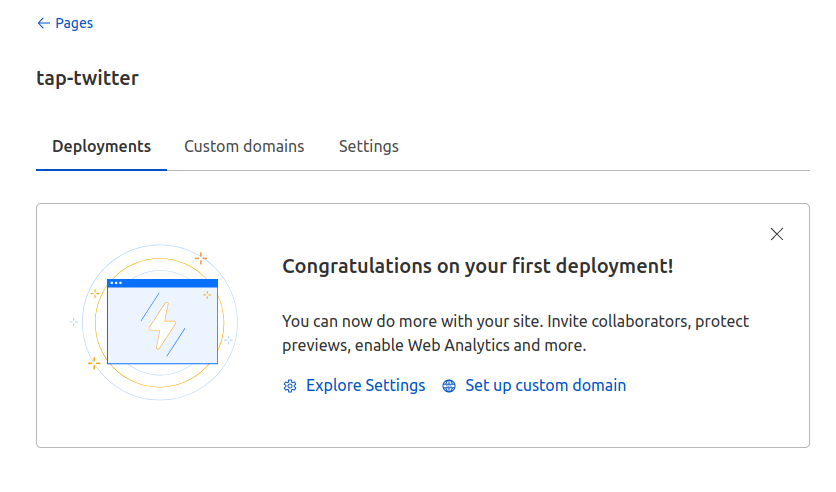
Next you'll be taken to a page showing a notice with a link to instructions to "Set up custom domain", follow that. (It's the same as if you clicked the "Custom domains" tab.
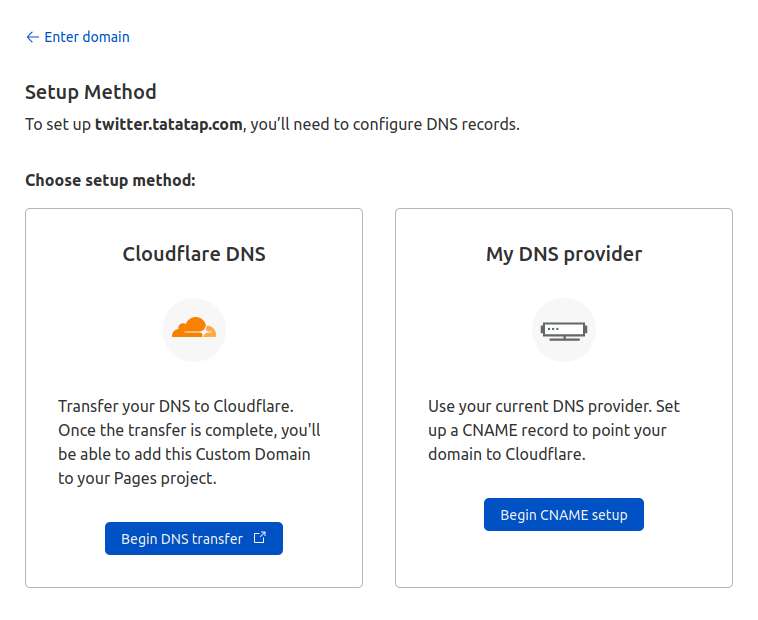
If your DNS configuration is not with CloudFlare, select the option on the right, "My DNS provider".
You'll be taken to an instructions page for the values needed for your DNS settings.
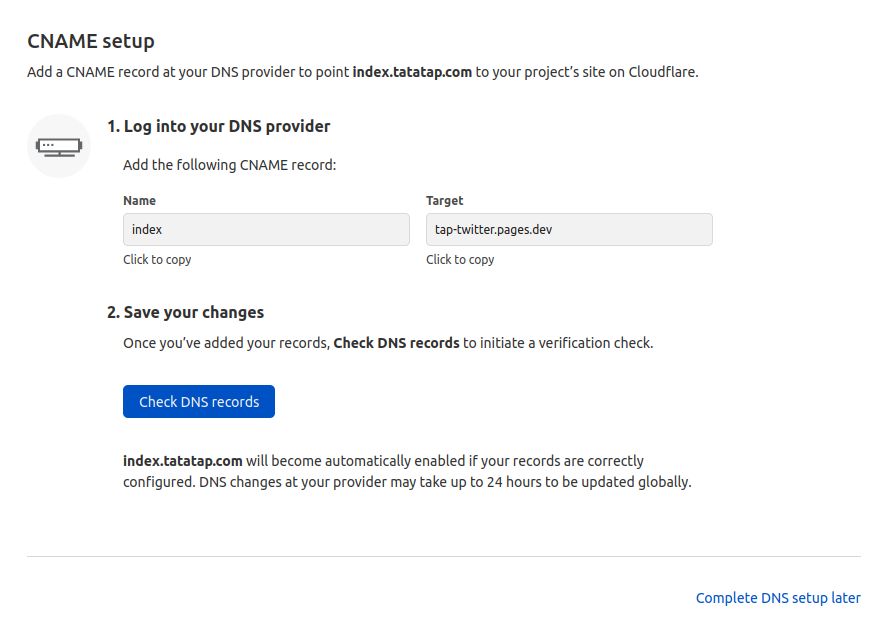
Next you're probably going to need to wait for a few minutes while CloudFlare checks that the DNS is set up correctly. They say it can take 24 hours, it's very unlikely it will take that long.
One nice thing about Cloudflare is that they take care of the SSL certificate for you, no extra button pressing to get that provisioned.
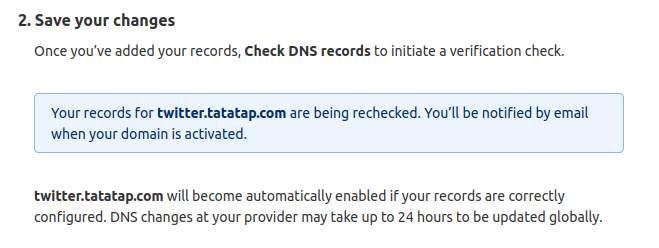
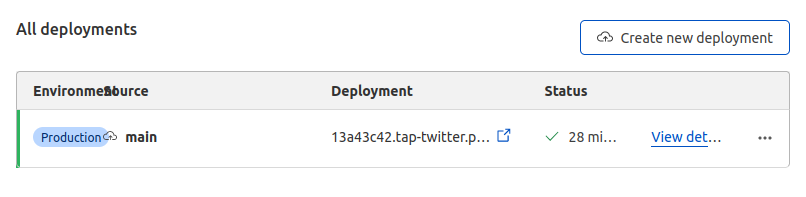
Once it's all set up correctly it will look something like this:

If you need a new version deployed, press the "Create new deployment" button.
Note: you only need to set up your DNS once.
Other good options
https://static.app/
static.app is a decent option, the only thing keeping it from a full-blown instructional was the fact that custom domain names aren't free.
Neocities
Another great option. Same issue as static.app, but Neocities has good motivations and it's worth considering supporting them.
Other Options Considered But Not Chosen
https://cloud.google.com/storage/docs/hosting-static-website -- holy shit look at those instructions
Amazon
https://docs.aws.amazon.com/AmazonS3/latest/userguide/WebsiteHosting.html -- Not a good sign that the instructions start with an index page introducing half of a dozen concepts.
I'm actually a fan of AWS and use them quite extensively. Here's a cloudformation template I put together and used in various configurations. It's great, but insanely complicated.
Then there were a bunch disqualified for a handful of reasons. The two most common reasons were requiring a command line too and/or integration with a git service. And while I think command line tools are great and git is indispensable (for me) they're pretty steep barriers if all you're trying to do is get some files on the internet.
render.com -- Only connects to git services (github and gitlab) -- need to understand git
vercel.com -- Again requires git service
Firebase -- Google product, requires custom CLI
Surge.sh -- Again with the custom CLI
Azure -- Requires a credit card to sign up
Prior Art
And if this guide wasn't enough, I found another one with some different takes.